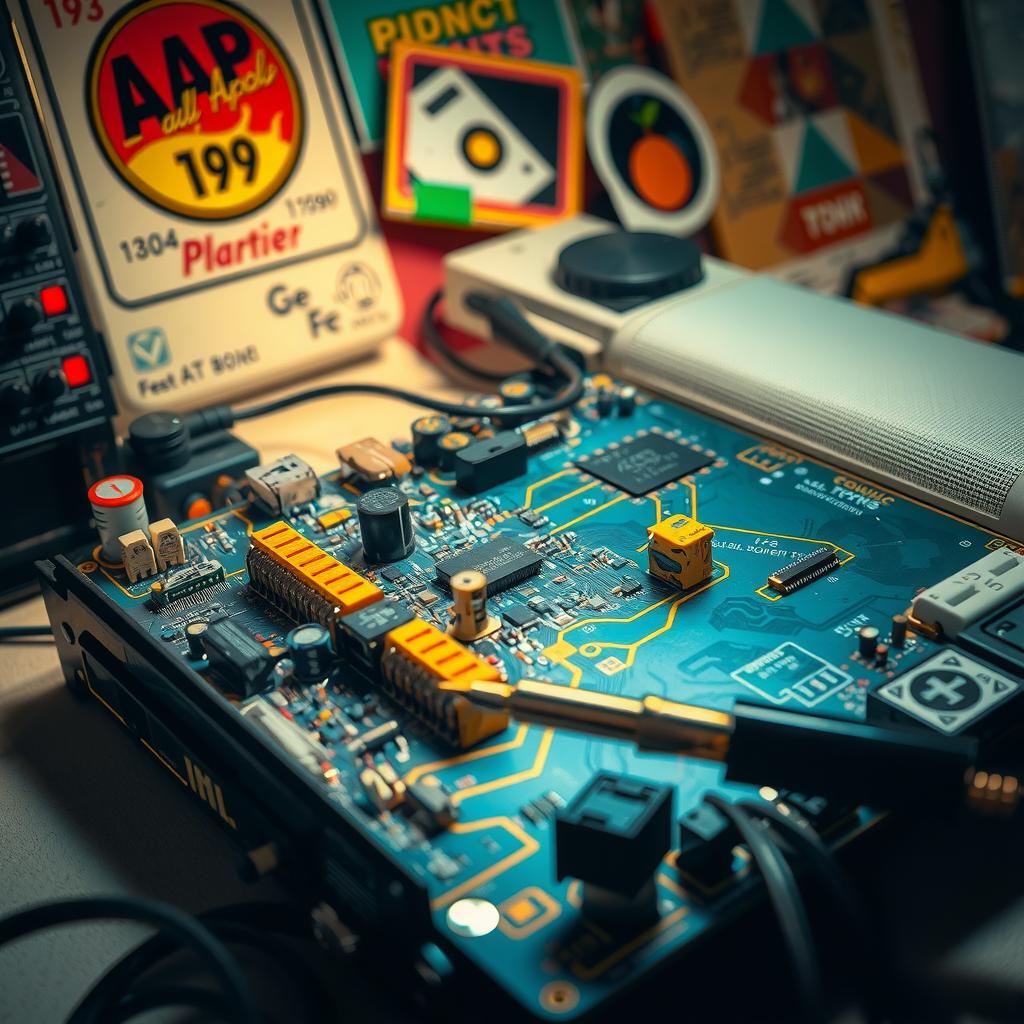
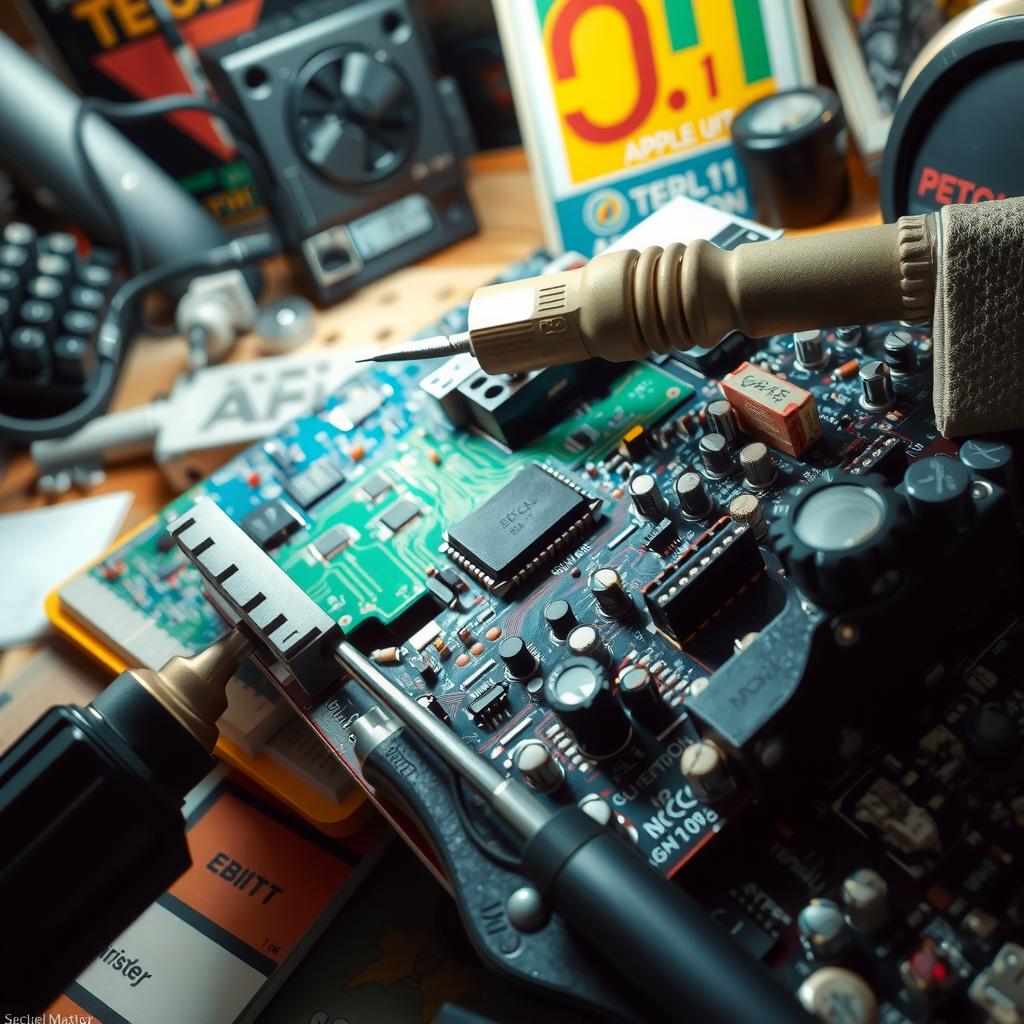
In the realm of vintage computing, few machines evoke as much nostalgia and admiration as the Apple II Plus. However, like any classic piece of technology, time can take its toll on this iconic device’s performance. Users often encounter various issues that may stem from a deteriorating motherboard or faulty circuit connections—challenges that can seem daunting to tackle without expert help. For enthusiasts eager to revive their beloved Apple II Plus, understanding how to navigate these technical hurdles is essential for preserving a piece of computing history.
The heart of any computer lies within its motherboard; it serves as the central hub connecting all components and facilitating communication between hardware elements. When problems arise within the circuit board, users might find themselves facing frustrating symptoms such as boot failures or erratic behavior in software applications. This article aims to provide readers with valuable insights into motherboard repair techniques tailored specifically for the Apple II Plus while demystifying some common pitfalls associated with electronics repair.
Delving into hardware troubleshooting can feel overwhelming at first glance, especially for those who may not have extensive experience in DIY repairs. Yet, armed with a bit of patience and guidance, anyone can learn effective strategies for diagnosing issues and applying fixes that breathe new life into their vintage computers. By following this comprehensive DIY repair guide, readers will discover practical methods for tackling circuit board issues head-on rather than relying solely on external technical support.
As we explore the intricacies of maintaining an Apple II Plus, we’ll highlight key tools and techniques necessary for successful repairs while addressing specific challenges unique to this model. Through each step outlined in our guide, readers will gain confidence in their ability to perform vintage computer maintenance independently—an empowering journey that connects them more deeply with their cherished devices.
So whether you are an avid collector looking to restore your operational setup or simply someone intrigued by electronics repair possibilities, join us as we delve into the world of Apple II Plus motherboard repair! Uncovering solutions awaits those willing to embark on this rewarding path toward reviving one of computing’s most celebrated milestones promises both satisfaction and newfound appreciation for these timeless machines.

Key Insights: Navigating the Apple II Plus Motherboard Repair Process
Understanding Common Issues
The Apple II Plus, a pioneering vintage computer, often presents unique challenges during maintenance. Many enthusiasts encounter issues such as power failures or display malfunctions that originate from the motherboard. By recognizing these common problems early on, users can streamline their troubleshooting process. Familiarizing oneself with symptoms like flickering screens or unresponsive keys can significantly enhance one’s ability to diagnose faults effectively.
Essential Tools and Techniques for Circuit Board Fixes
Engaging in motherboard repair requires specific tools and techniques tailored for the Apple II Plus. Essential items include a multimeter for electrical testing, soldering equipment for circuit board fixes, and cleaning supplies to maintain connections free of dust and corrosion. Understanding how to safely use these tools is crucial; this knowledge empowers individuals to tackle repairs confidently while preserving the integrity of their treasured machines.
DIY Repair Guide: Step-by-Step Troubleshooting Methods
For those embarking on the journey of electronics repair, having a structured approach is vital when addressing hardware issues related to the Apple II Plus motherboard. The first step involves visually inspecting components for damage or wear before proceeding with more complex tests using diagnostic tools. Following systematic steps—like checking voltage levels at various points—can lead users closer to identifying faulty parts needing replacement or repair without overwhelming themselves in technical jargon.
By delving into these insights regarding maintaining and repairing an Apple II Plus, readers are encouraged not only to restore functionality but also deepen their appreciation for vintage computer technology through hands-on experience.

Understanding the Apple II Plus: The Heart of Vintage Computing
A Milestone in Computer History
The Apple II Plus holds an esteemed place in the annals of computing history as one of the pioneering personal computers that shaped modern technology. Launched in 1979, this model built upon its predecessor’s success by incorporating enhanced features and a more versatile electronic architecture. At its core, the Apple II Plus was designed with user accessibility and performance in mind. Its innovative motherboard design allowed for easy upgrades and modifications, making it a favorite among hobbyists eager to delve into DIY repair guides for vintage computer maintenance. This adaptability not only facilitated hardware troubleshooting but also established a culture of exploration around electronics repair during an era when such practices were less common.
Unique Electronic Architecture
One remarkable aspect of the Apple II Plus is its unique electronic architecture, which set it apart from contemporary systems. The machine featured a robust 6502 processor running at 1 MHz and supported up to 48 KB of RAM—an impressive specification at that time. This architecture included an expandable slot system allowing users to add peripherals like disk drives or memory expansion cards with relative ease; thus promoting self-sufficiency among users interested in circuit board fixes or motherboard repairs. Additionally, the inclusion of color graphics capabilities marked a significant advancement over earlier models, enabling vibrant visual output that appealed to both gamers and educators alike.
A Community Built on Innovation
The significance of the Apple II Plus extends beyond mere technical specifications; it fostered a thriving community dedicated to innovation and problem-solving within computing circles. As enthusiasts engaged with their machines through various forms—whether seeking technical support for software challenges or troubleshooting hardware issues—they began sharing knowledge extensively via newsletters, bulletin boards, and eventually online forums dedicated to vintage computing topics. This collaborative spirit not only propelled advancements within individual units but inspired collective efforts towards creating comprehensive resources on electronics repair techniques tailored specifically for older devices like the Apple II Plus.
Legacy That Influences Today’s Technology
The legacy left by the Apple II Plus continues to resonate within today’s technological landscape despite being decades old. Many concepts introduced during its time have laid foundational principles still applicable across modern computing platforms—from user-friendly interfaces that prioritize accessibility to modular designs encouraging upgrades rather than complete replacements—a hallmark value rooted firmly in sustainability practices embraced today across tech industries globally! Enthusiasts often revisit these early machines—not just out nostalgia—but also appreciation for their role shaping our current understanding surrounding personal computers’ evolution over time while providing insights invaluable even now regarding effective methods relating back toward hardware maintenance options available broadly speaking on classic devices akin towards what once was offered through solutions found previously concerning vintage computer maintenance.
In conclusion, understanding how integral models such as Apple II Plus became pivotal milestones helps appreciate both historical contexts behind computational advancements along ongoing discussions surrounding retro-tech revivalism seen increasingly popularized lately too!
Common Motherboard Issues Faced by Enthusiasts
Understanding the Challenges in Motherboard Functionality
When dealing with motherboard issues, enthusiasts often encounter a variety of challenges that can complicate their experiences. One such challenge is the failure to boot, which can stem from numerous underlying causes, including faulty connections or damaged components on the circuit board. For example, in vintage computers like the Apple II Plus, a meticulous examination of solder joints and power supply connections is necessary to identify any potential failures that could prevent proper functionality. Technical support for these types of issues requires an understanding of both software and hardware interactions—often necessitating a methodical approach to troubleshooting hardware problems.
Another common issue arises when peripherals fail to be recognized by the motherboard. This can occur due to outdated drivers or physical damage within expansion slots. For instance, if an enthusiast attempts to connect a modern peripheral device but encounters difficulties due to incompatibility with an older system like the Apple II Plus, they may need a DIY repair guide that outlines steps for testing each component involved in communication between devices and circuits. Conducting thorough electronics repair practices will assist users in determining whether their problem lies with either software configurations or physical layer failures.
Effective Troubleshooting Techniques
Navigating Solutions for Hardware Problems
Troubleshooting techniques play a crucial role when addressing motherboard-related dilemmas experienced by computer enthusiasts. A systematic approach begins with visual inspections; checking for signs of wear and tear on connectors or corrosion around ports can reveal hidden issues affecting performance. In cases where owners are maintaining vintage systems such as the Apple II Plus, using appropriate tools ensures minimal risk during repairs while maximizing effectiveness in detecting malfunctions across various circuit board elements.
Following initial assessments, enthusiasts should utilize diagnostic tools designed specifically for motherboards—these include multimeters capable of measuring voltage levels at different points on the board itself. If discrepancies arise during these tests, it may signal deeper circuitry problems requiring more advanced repairs or replacement parts found through specialized vendors familiarized with classic models like Apple II Plus components.
Moreover, documenting every step taken throughout this process not only aids personal learning but also contributes valuable insights back into community forums focused on motherboard repair strategies among peers sharing similar interests. By fostering shared knowledge about solutions involving hardware troubleshooting related directly back towards their beloved vintage machines—including those iconic staples such as Apple’s own offerings—the collective experience ultimately enriches all participants engaged therein while empowering further exploration into innovative maintenance methods suited uniquely per individual setups.
Step-by-Step Repair Guide: Revitalizing Your Vintage Machine
Understanding the Essentials of Electronics Repair
Restoring vintage machines, particularly the iconic Apple II Plus, can be a rewarding endeavor for tech enthusiasts and hobbyists alike. A comprehensive understanding of electronics repair is crucial to ensure successful restoration. The first step in this process involves familiarizing oneself with the internal components of the machine, including circuit boards and motherboards. These elements often suffer from wear and tear over time, leading to malfunctions that require careful diagnosis. Conducting thorough hardware troubleshooting is essential; it allows one to pinpoint issues accurately without resorting to guesswork. This methodical approach not only enhances one’s technical skills but also instills confidence when tackling complex repairs.
The primary focus during any restoration project should always be on safety and precision. When working on devices such as the Apple II Plus, utilizing proper soldering techniques is imperative for effective component replacement or repair. Soldering requires a steady hand and an eye for detail—one must ensure that connections are clean and secure while avoiding excessive heat that could damage sensitive components nearby. Employing flux can greatly enhance solder adhesion, which is particularly beneficial when repairing circuit board traces that may have corroded over time due to age or exposure.
Tools Required for Successful Repairs
Equipping oneself with the right tools can make all the difference in restoring vintage computers like the Apple II Plus efficiently. Essential tools include fine-tipped soldering irons, desoldering pumps, multimeters for testing voltages and continuity, along with assorted screwdrivers tailored specifically for electronic workstations. Having a comprehensive toolkit ensures readiness at each stage of your DIY repair guide journey—from initial inspection through final assembly post-repair tests.
Additionally, creating an organized workspace helps maintain focus during repairs by minimizing distractions caused by clutter or misplaced items since organization plays a significant role in maintaining efficiency throughout complex tasks such as motherboard repairs or troubleshooting faulty circuitry within these beloved relics from computing history.
Practical Steps for Component Replacement
When engaging in component replacement on systems like the Apple II Plus, following systematic procedures will yield better results while mitigating risks associated with mishandling fragile parts within vintage electronics setups significantly increases chances success rates across different types maintenance projects undertaken by enthusiasts passionate about preserving technological heritage past generations created together!
Begin by identifying faulty components using diagnostic methods outlined previously – once confirmed proceed carefully remove those elements ensuring not disturb surrounding areas unnecessarily damaging adjacent circuits wiring could lead further complications down road more expensive fixes later need address instead focusing immediate issue hand might seem straightforward yet attention detail critical here too!
Afterward acquire suitable replacements either sourcing original parts where possible newer alternatives compatible designs available marketplace today offer viable options many users prefer opt toward upgrading functionality alongside aesthetic appeal device itself ultimately bringing new life back into cherished classics like our friend—the Apple II Plus!
Reviving the Classic: A Step-by-Step Guide to Apple II Plus Motherboard Repair
Restoring the Apple II Plus motherboard can seem overwhelming, but with a methodical approach, enthusiasts can effectively tackle various issues. The first step in this motherboard repair journey involves identifying common problems such as power failures or erratic behavior during operation. Users often find that visual inspection is crucial; look for signs of physical damage like burnt components or corroded traces. Utilizing a multimeter to test voltage levels and continuity will provide insights into which sections of the circuit board may require further attention.
After pinpointing potential faults on the Apple II Plus, DIYers should prepare for hands-on repairs. This step includes gathering essential tools such as soldering equipment and replacement parts that might be necessary for any circuit board fix. For instance, if capacitors are found to be faulty—an all-too-common issue in vintage electronics—it’s important to replace them with equivalents that maintain original specifications. Taking detailed notes during disassembly will help ensure proper reassembly and reduce confusion later on.
As users progress through their repair process, hardware troubleshooting becomes increasingly vital. Keeping track of symptoms experienced by the Apple II Plus throughout its operational history allows technicians to correlate specific repairs with improvements in performance. Additionally, consulting online forums dedicated to vintage computer maintenance can provide valuable technical support from fellow enthusiasts who have faced similar challenges before.
FAQ:
Q: What common issues might I face while repairing my Apple II Plus motherboard?
A: Common issues include power failures, screen artifacts, or unresponsive keys; these often stem from worn-out capacitors or damaged traces on the circuit board.
Q: Do I need specialized tools for Apple II Plus motherboard repair?
A: While basic tools like screwdrivers and a multimeter are essential, having soldering equipment is highly recommended for replacing defective components during your repairs.
Q: Where can I find additional resources or community support for vintage computer maintenance?
A: Online forums and retro computing groups offer excellent platforms where users share experiences related to electronics repair, providing guidance and moral support throughout your journey.

