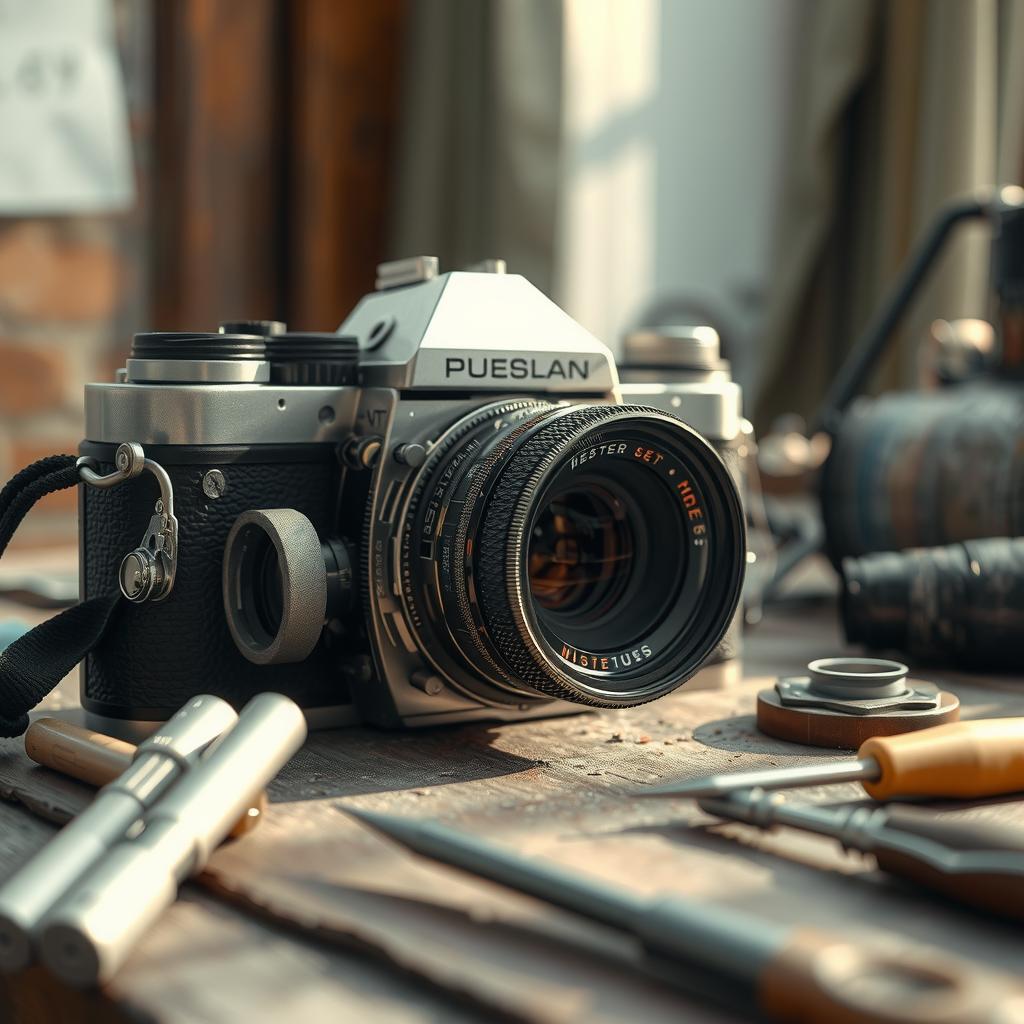
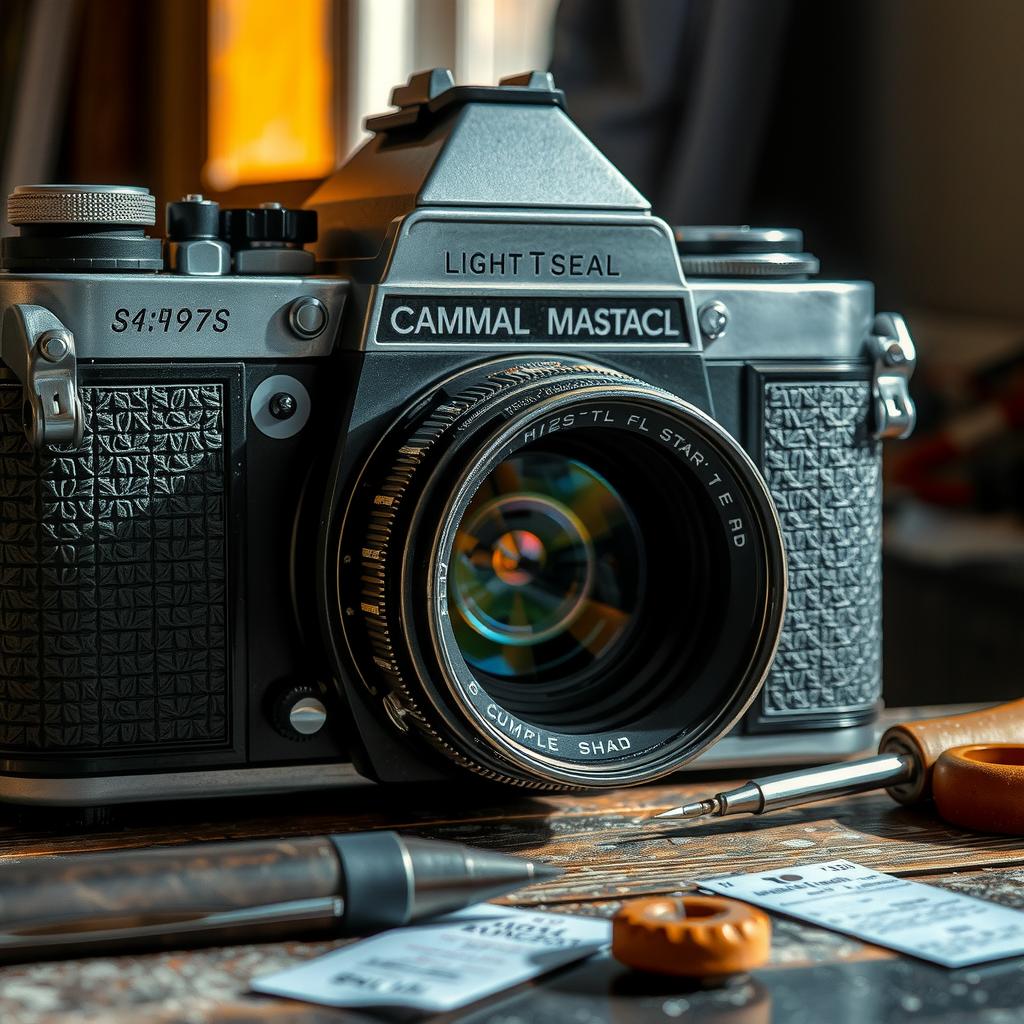
Have you ever wondered why your beloved film camera seems to be producing less-than-stellar images despite your careful shooting techniques? The culprit might be something as seemingly insignificant as a deteriorating light seal. This often-overlooked component plays a crucial role in ensuring that light does not leak into the camera body, which can ruin an otherwise perfect shot. In this article, readers will discover the importance of maintaining these seals and learn how replacing them can significantly enhance their photography experience.
The core value of understanding light seal replacement lies in its direct impact on image quality and overall camera performance. As cameras age, their original seals wear out due to environmental factors such as humidity and temperature changes or simply the passage of time. A faulty seal can lead to unwanted light leaks that compromise exposure levels, resulting in images with foggy areas or overexposed sections—definitely not what any photographer wants when capturing precious moments. By effectively addressing this issue through proper maintenance and timely replacements, photographers can ensure their equipment remains reliable for years to come.
Fortunately, replacing a worn-out light seal is more accessible than many may think. With some patience and the right guidance from our detailed repair guide, enthusiasts at all skill levels can successfully undertake this task themselves without needing professional assistance. The solution isn’t just about fixing a problem; it’s about taking proactive measures in camera maintenance, enhancing both functionality and longevity for future photographic adventures.
As readers delve deeper into this post, they will gain valuable insights into identifying when it’s time for a replacement along with step-by-step instructions on executing it correctly. Additionally, practical photography tips will be woven throughout the discussion to enrich knowledge further while focusing on maintaining optimal performance standards for one’s film camera. Whether you’re an amateur looking to improve your skills or an experienced shooter aiming to preserve cherished gear, understanding how vital good sealing solutions are cannot be overstated.
In summary, embarking on the journey of light seal replacement is essential for anyone dedicated to preserving their craft through effective equipment care. Stay tuned as we uncover everything there is to know about keeping those critical components intact so you never miss another beautiful moment again!

Key Points:
-
The Necessity of Light Seal Integrity: Protecting Image Quality
The light seals in a film camera are vital for maintaining the integrity of captured images. Over time, these seals can deteriorate due to exposure to various environmental factors, leading to light leaks that compromise photo quality. Understanding how to inspect and replace worn or damaged light seals is crucial for photographers who want their cameras to perform at their best. -
Identifying Signs of Wear: Spotting Faulty Seals
Before attempting a replacement, it’s essential for photographers to recognize signs that indicate faulty light seals. Common symptoms include noticeable light leaks in images or discoloration around the camera body where the sealing material might have degraded. By being vigilant about these indicators, photographers can take proactive steps toward effective camera maintenance, ensuring optimal performance during shoots. -
Step-by-Step Replacement Process: A Practical Repair Guide
This guide provides detailed instructions on replacing old or ineffective light seals in film cameras. Photographers will benefit from learning the tools needed and following organized steps that simplify the process. With proper guidance, individuals can successfully execute this essential repair task, enhancing their photography experience while safeguarding against future issues related to inadequate sealing solutions.

Understanding Light Seals: The Importance of Proper Camera Maintenance
The Critical Role of Light Seals in Image Quality
Light seals play an essential role in the functioning of film cameras, ensuring that light doesn’t leak into the camera body and compromise image quality. These seals are typically made from foam or rubber materials, strategically placed around areas such as the film compartment and door latches. Over time, however, exposure to heat, humidity, and general wear can cause these light seals to deteriorate or become ineffective. When this happens, photographers may notice increased graininess in their images due to unwanted light contamination during the exposure process. This makes understanding how light seals function paramount for anyone looking to maintain their camera properly and produce high-quality photographs consistently.
Proper maintenance is critical not only for preserving a camera’s lifespan but also for safeguarding its performance capabilities. A worn-out light seal can lead to significant issues like fogging on developed images or inaccurate color representation due to stray light entering sensitive areas within the camera body. Photographers should incorporate regular inspections into their routine maintenance practices—checking for signs of wear such as cracking or crumbling materials is vital. If any deterioration is noted, timely replacement using suitable sealing solutions can mitigate further damage and enhance overall photography results.
The Process of Replacement: Ensuring Optimal Performance
Tips for Replacing Light Seals Effectively
Replacing old or damaged light seals might seem daunting at first; however, it’s a straightforward process when approached methodically with proper tools at hand. First off, it’s crucial to gather all necessary items such as adhesive solutions specifically designed for camera repairs along with replacement foam strips tailored for your particular model type—these items often come highly recommended by seasoned photographers who have faced similar challenges before.
The actual replacement begins with gently removing the old light seal, taking care not to damage surrounding components during this step—patience is essential here! Once cleared away, cleaning any residual adhesive left behind will ensure optimal adhesion when applying new seals later on. Following this preparation phase comes measuring out appropriate lengths of new foam strips before adhering them carefully in place; precision matters greatly when aiming for perfect fitment that prevents future leaks effectively.
In addition to these practical tips found within many repair guides available online today—from forums dedicated solely towards vintage film enthusiasts—to advice shared across social media platforms centered around photography discussions; engaging with fellow aficionados provides invaluable insights regarding maintaining different types of cameras long-term while keeping its functionality intact through proper handling techniques too! Thus empowering users not just technically but also creatively throughout their photographic journeys ahead!
Identifying Faulty Seals
Recognizing the Signs of Worn Light Seals in Film Cameras
For photography enthusiasts using a film camera, understanding when to replace the light seal is crucial for maintaining image quality. Over time, seals can deteriorate due to age and environmental factors, leading to potential light leaks that ruin photographs. One major sign that a film camera needs attention is visible wear on the light seals surrounding the door and other openings of the camera body. A common indicator includes detecting a sticky residue or an unusual texture near these areas, which suggests that the material has begun breaking down. Additionally, users may notice unwanted exposure spots on their images, especially in bright lighting conditions; this could mean that light is seeping through gaps where worn seals exist.
Another telltale sign involves close inspection of photographic prints—if they appear faded or have inconsistencies across frames taken under similar settings, it might be time for some proactive camera maintenance. Photographers should also consider performing routine checks during loading and unloading film; any unusual resistance or sounds may indicate compromised sealing solutions within the mechanism itself. Regularly addressing these signs not only improves photo outcomes but also extends a film camera’s lifespan significantly.
To effectively manage issues related to faulty seals, individuals must consult reliable repair guides tailored specifically for their model type. Replacing old or damaged light seals can often be accomplished with simple tools and materials available at most craft stores or online retailers specializing in photography gear. When applying new light seal materials, it’s pivotal to ensure proper adhesion without leaving excess residue from adhesives used during installation—which could lead back into old issues if not handled correctly.
In conclusion, paying attention to changes in performance and appearance while utilizing your film camera will help identify potential problems early on concerning its sealing system. By recognizing these indicators promptly and taking action through careful assessment as well as timely replacements of necessary components like light seal, photographers can preserve both their equipment’s integrity and achieve stunning results consistently throughout their creative journey.
The Importance of Light Seals in Film Cameras
Enhance Your Camera’s Functionality with Proper Maintenance
Maintaining a film camera is crucial for ensuring its longevity and performance. One often overlooked aspect of camera maintenance is the replacement of light seals. These small strips, typically made from foam or felt, are designed to prevent light leaks that can ruin photographs. Over time, these seals degrade due to age, humidity, and temperature fluctuations, leading to potential exposure problems during film development. A comprehensive repair guide on replacing these light seals not only enhances reliability but also extends the overall life of your precious analog equipment. Photographers who rely on their cameras for artistic expression understand that any compromise in functionality could negatively impact their work.
When embarking on this DIY project, it’s essential first to gather the necessary tools: a set of precision screwdrivers, adhesive suitable for camera repairs, and new light seal material specifically designed for photography applications. Many enthusiasts will find pre-cut kits available online which include all needed materials tailored to specific models or brands—simplifying an otherwise daunting task considerably.
Step-by-Step Replacement Process
A Detailed Walkthrough To Restore Your Camera’s Integrity
Replacing the light seal involves multiple steps that require patience and attention to detail but can be incredibly rewarding when executed correctly. First, one must disassemble the camera body carefully; this may involve removing screws from various compartments while paying close attention not to lose any parts in the process. Once open, old light seals should be removed gently using a pair of tweezers or similar tool; care should be taken here as leftover residue can hinder proper adhesion when applying new seals.
After cleaning off remnants with rubbing alcohol or a gentle solvent recommended by photography experts—ensuring no fibers remain—the next step focuses on cutting new pieces accurately according to original dimensions found in your service manual or online resources dedicated specifically towards your model type.
Once cut precisely into shape—including corners where applicable—a high-quality adhesive should then adhere each segment firmly into place before reassembling the body itself once more securely locking everything back together again after ensuring there are no gaps left exposed where light might leak through unnoticed during use.
Final Touches After Replacement
Ensuring Long-Term Performance Through Regular Checks
After successfully replacing your film camera‘s light seal, it’s vital for photographers—younger and seasoned alike—to establish regular inspections as part of ongoing maintenance practices throughout its usage lifespan moving forward henceforth! This simple act ensures continued protection against future issues arising from degradation over time again thereby maintaining optimal conditions internally within sensitive areas housing delicate components inside while capturing beautiful images consistently without fear!
Moreover incorporating some proactive measures like storing cameras properly away from extreme temperatures minimizes wear-and-tear effects significantly prolonging both aesthetic appeal alongside technical prowess resulting ultimately yielding stunning results helping art flourish effortlessly! By focusing upon such meticulous upkeep strategies regarding crucial elements such as camera sealing solutions adds significant value enriching experiences delightfully immersively allowing creativity shine brightly every single shot captured thereafter forever preserved beautifully indefinitely etched memories shared amongst loved ones reminding us always why we fell deeply enamored initially with this timeless craft known simply today still affectionately called “photography.”
Frequently Asked Questions:
Q: How can I tell if my light seals in the film camera are worn out?
A: A clear indication of worn light seals is the presence of light leaks on your photographs. If images have unexpected bright spots or uneven exposure, it may be time to inspect and potentially replace the light seal. Additionally, physical signs such as cracking, sticky residue, or loss of elasticity indicate that a replacement is necessary for optimal camera performance.
Q: What materials are best for replacing light seals in film cameras?
A: When considering a replacement, options such as self-adhesive foam tape or felt are popular choices among photographers. These materials effectively act as sealing solutions that not only restore functionality but also improve overall image quality by preventing external light from entering the camera body during exposure.
Q: Is it difficult to replace the light seals myself?
A: Replacing light seals can seem daunting at first; however, with proper guidance from a detailed repair guide and some basic tools, many photographers find it manageable. Following step-by-step instructions ensures that even those new to camera maintenance can successfully execute this task while enhancing their film photography experience through improved reliability and reduced risk of future leaks.

