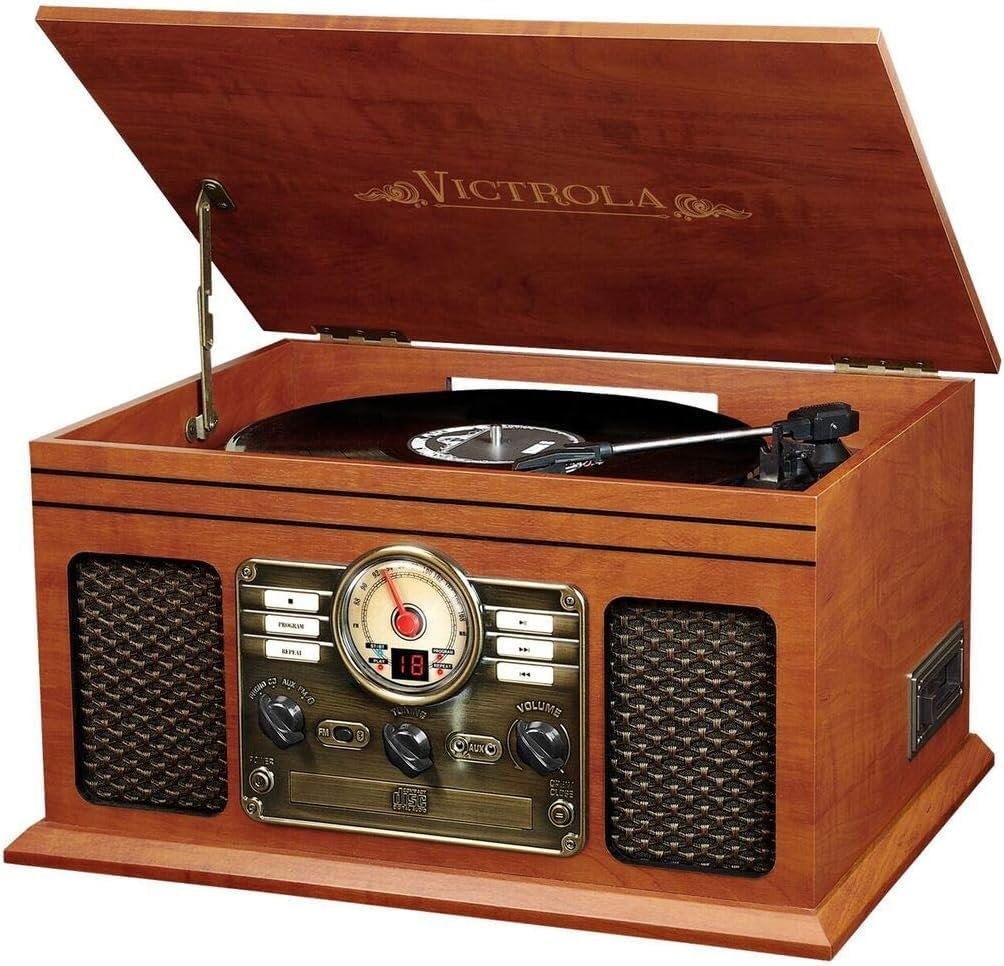
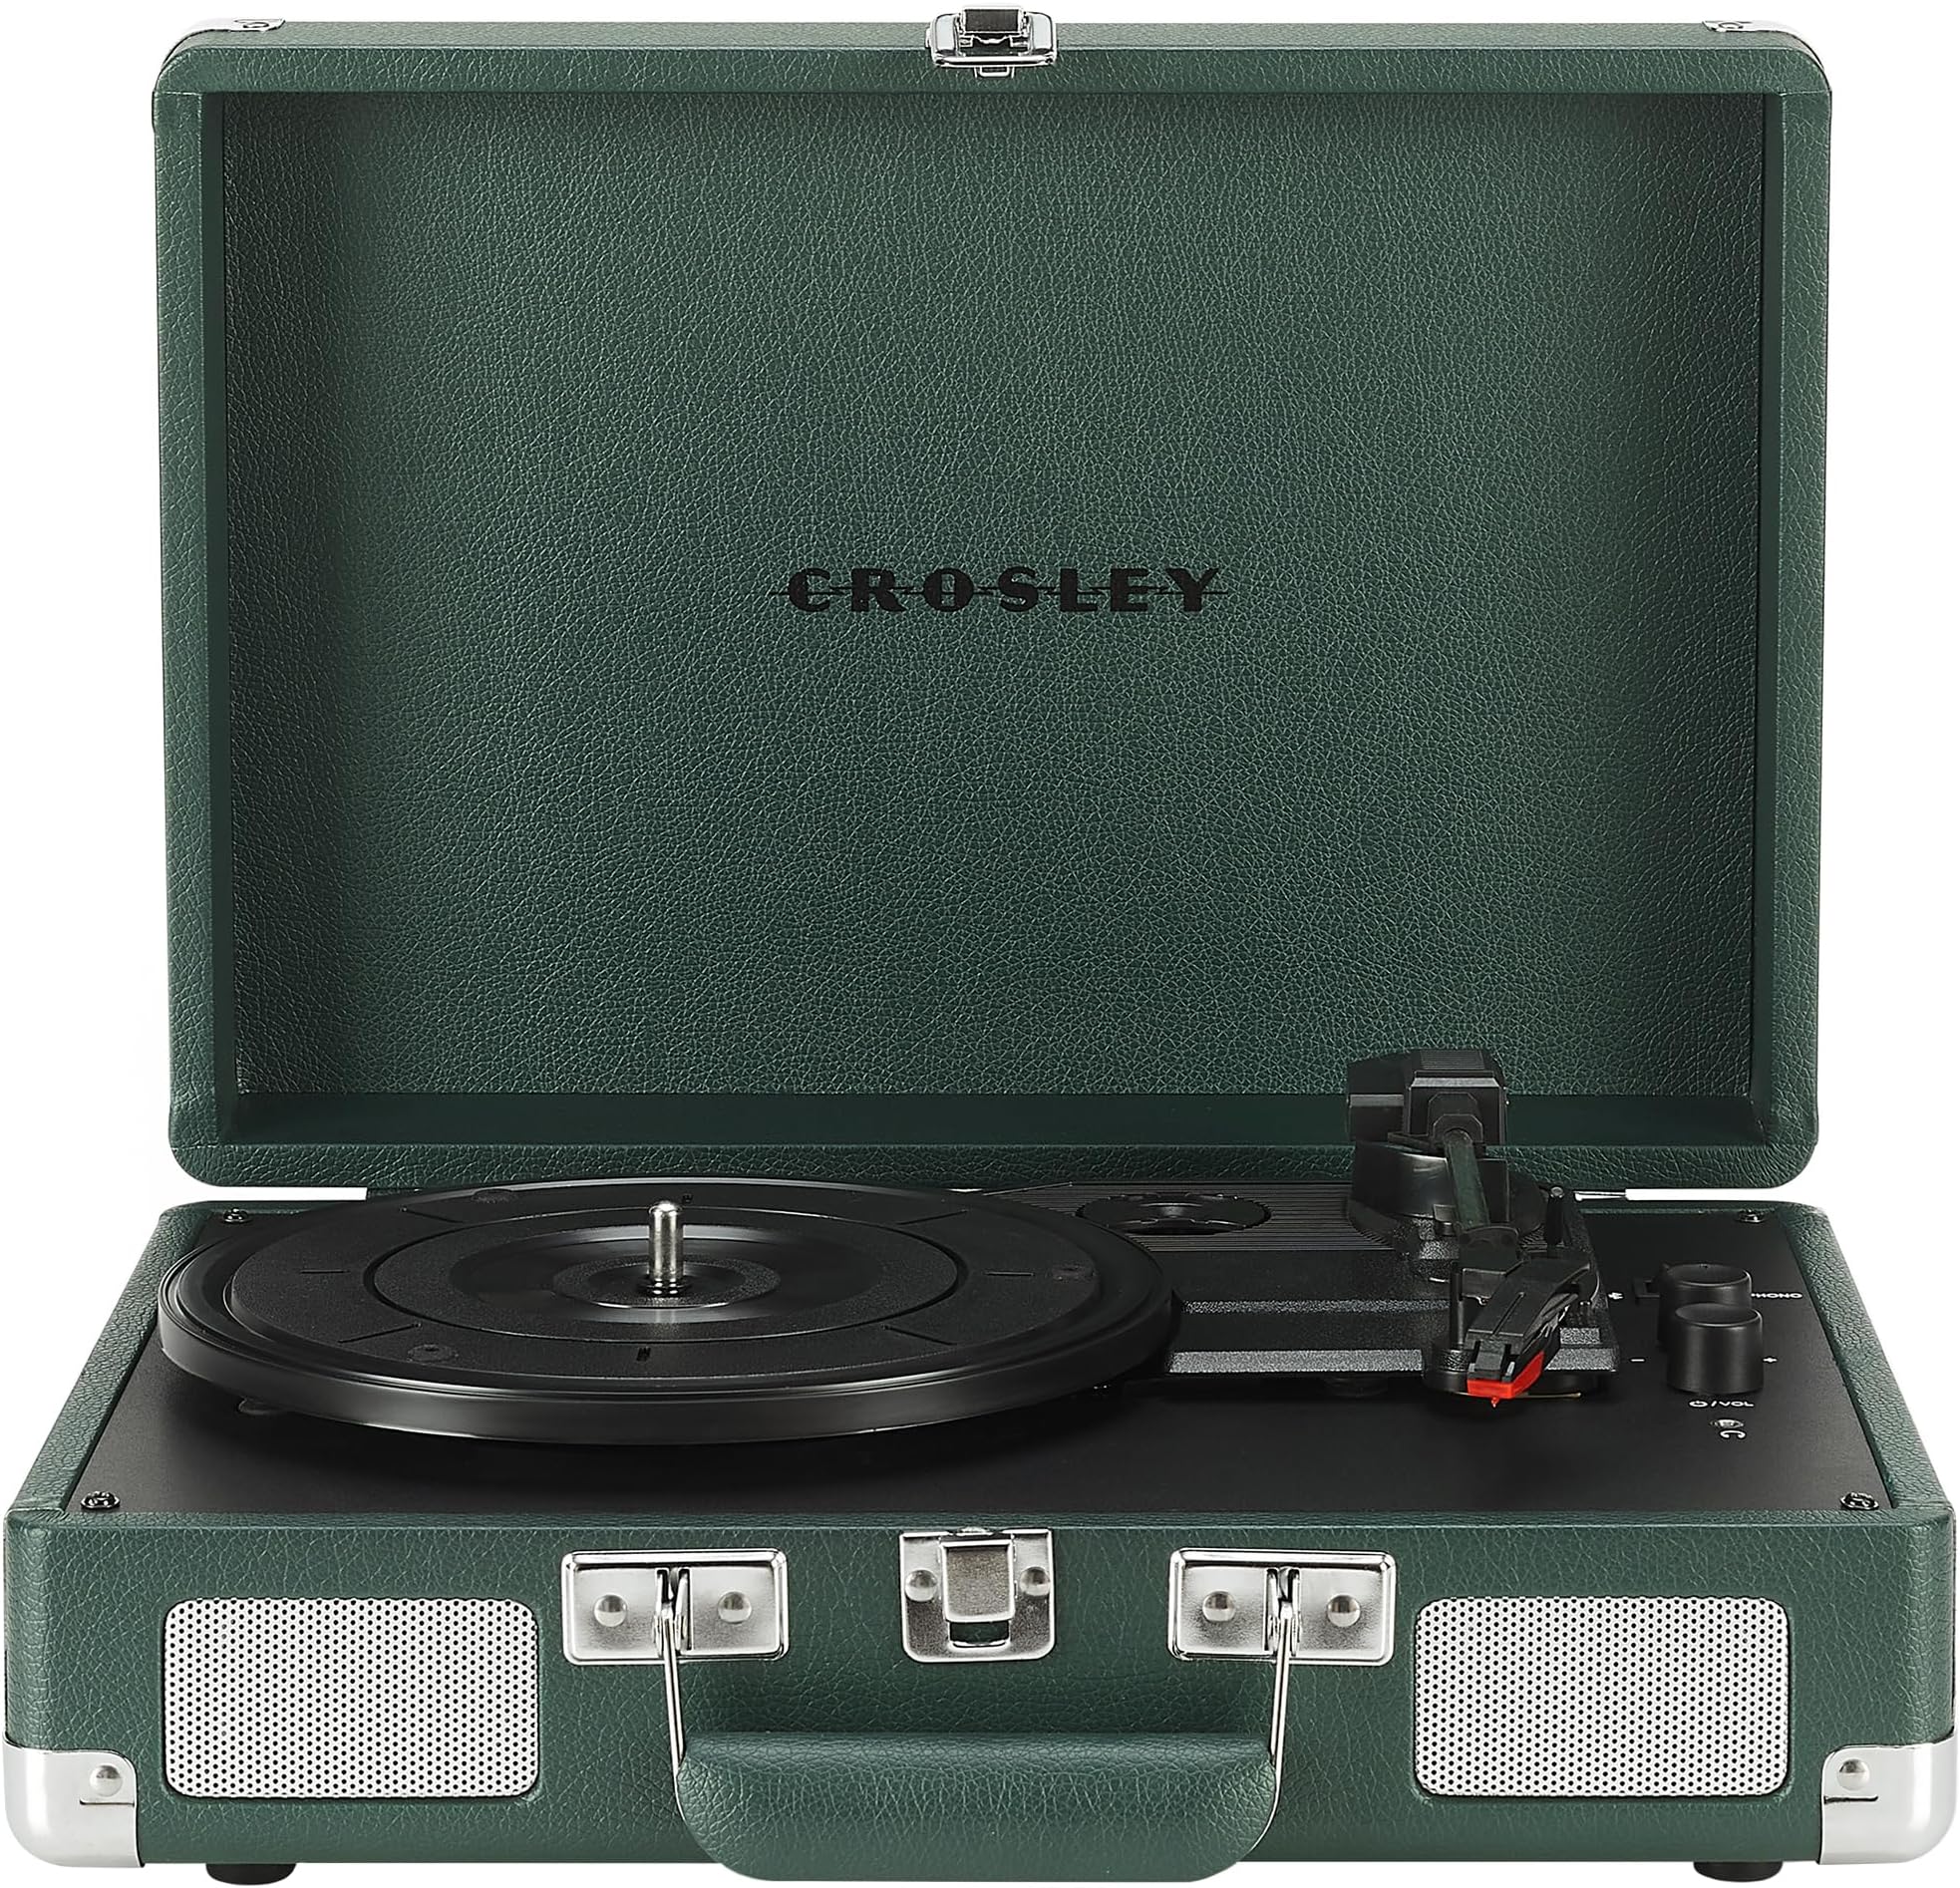
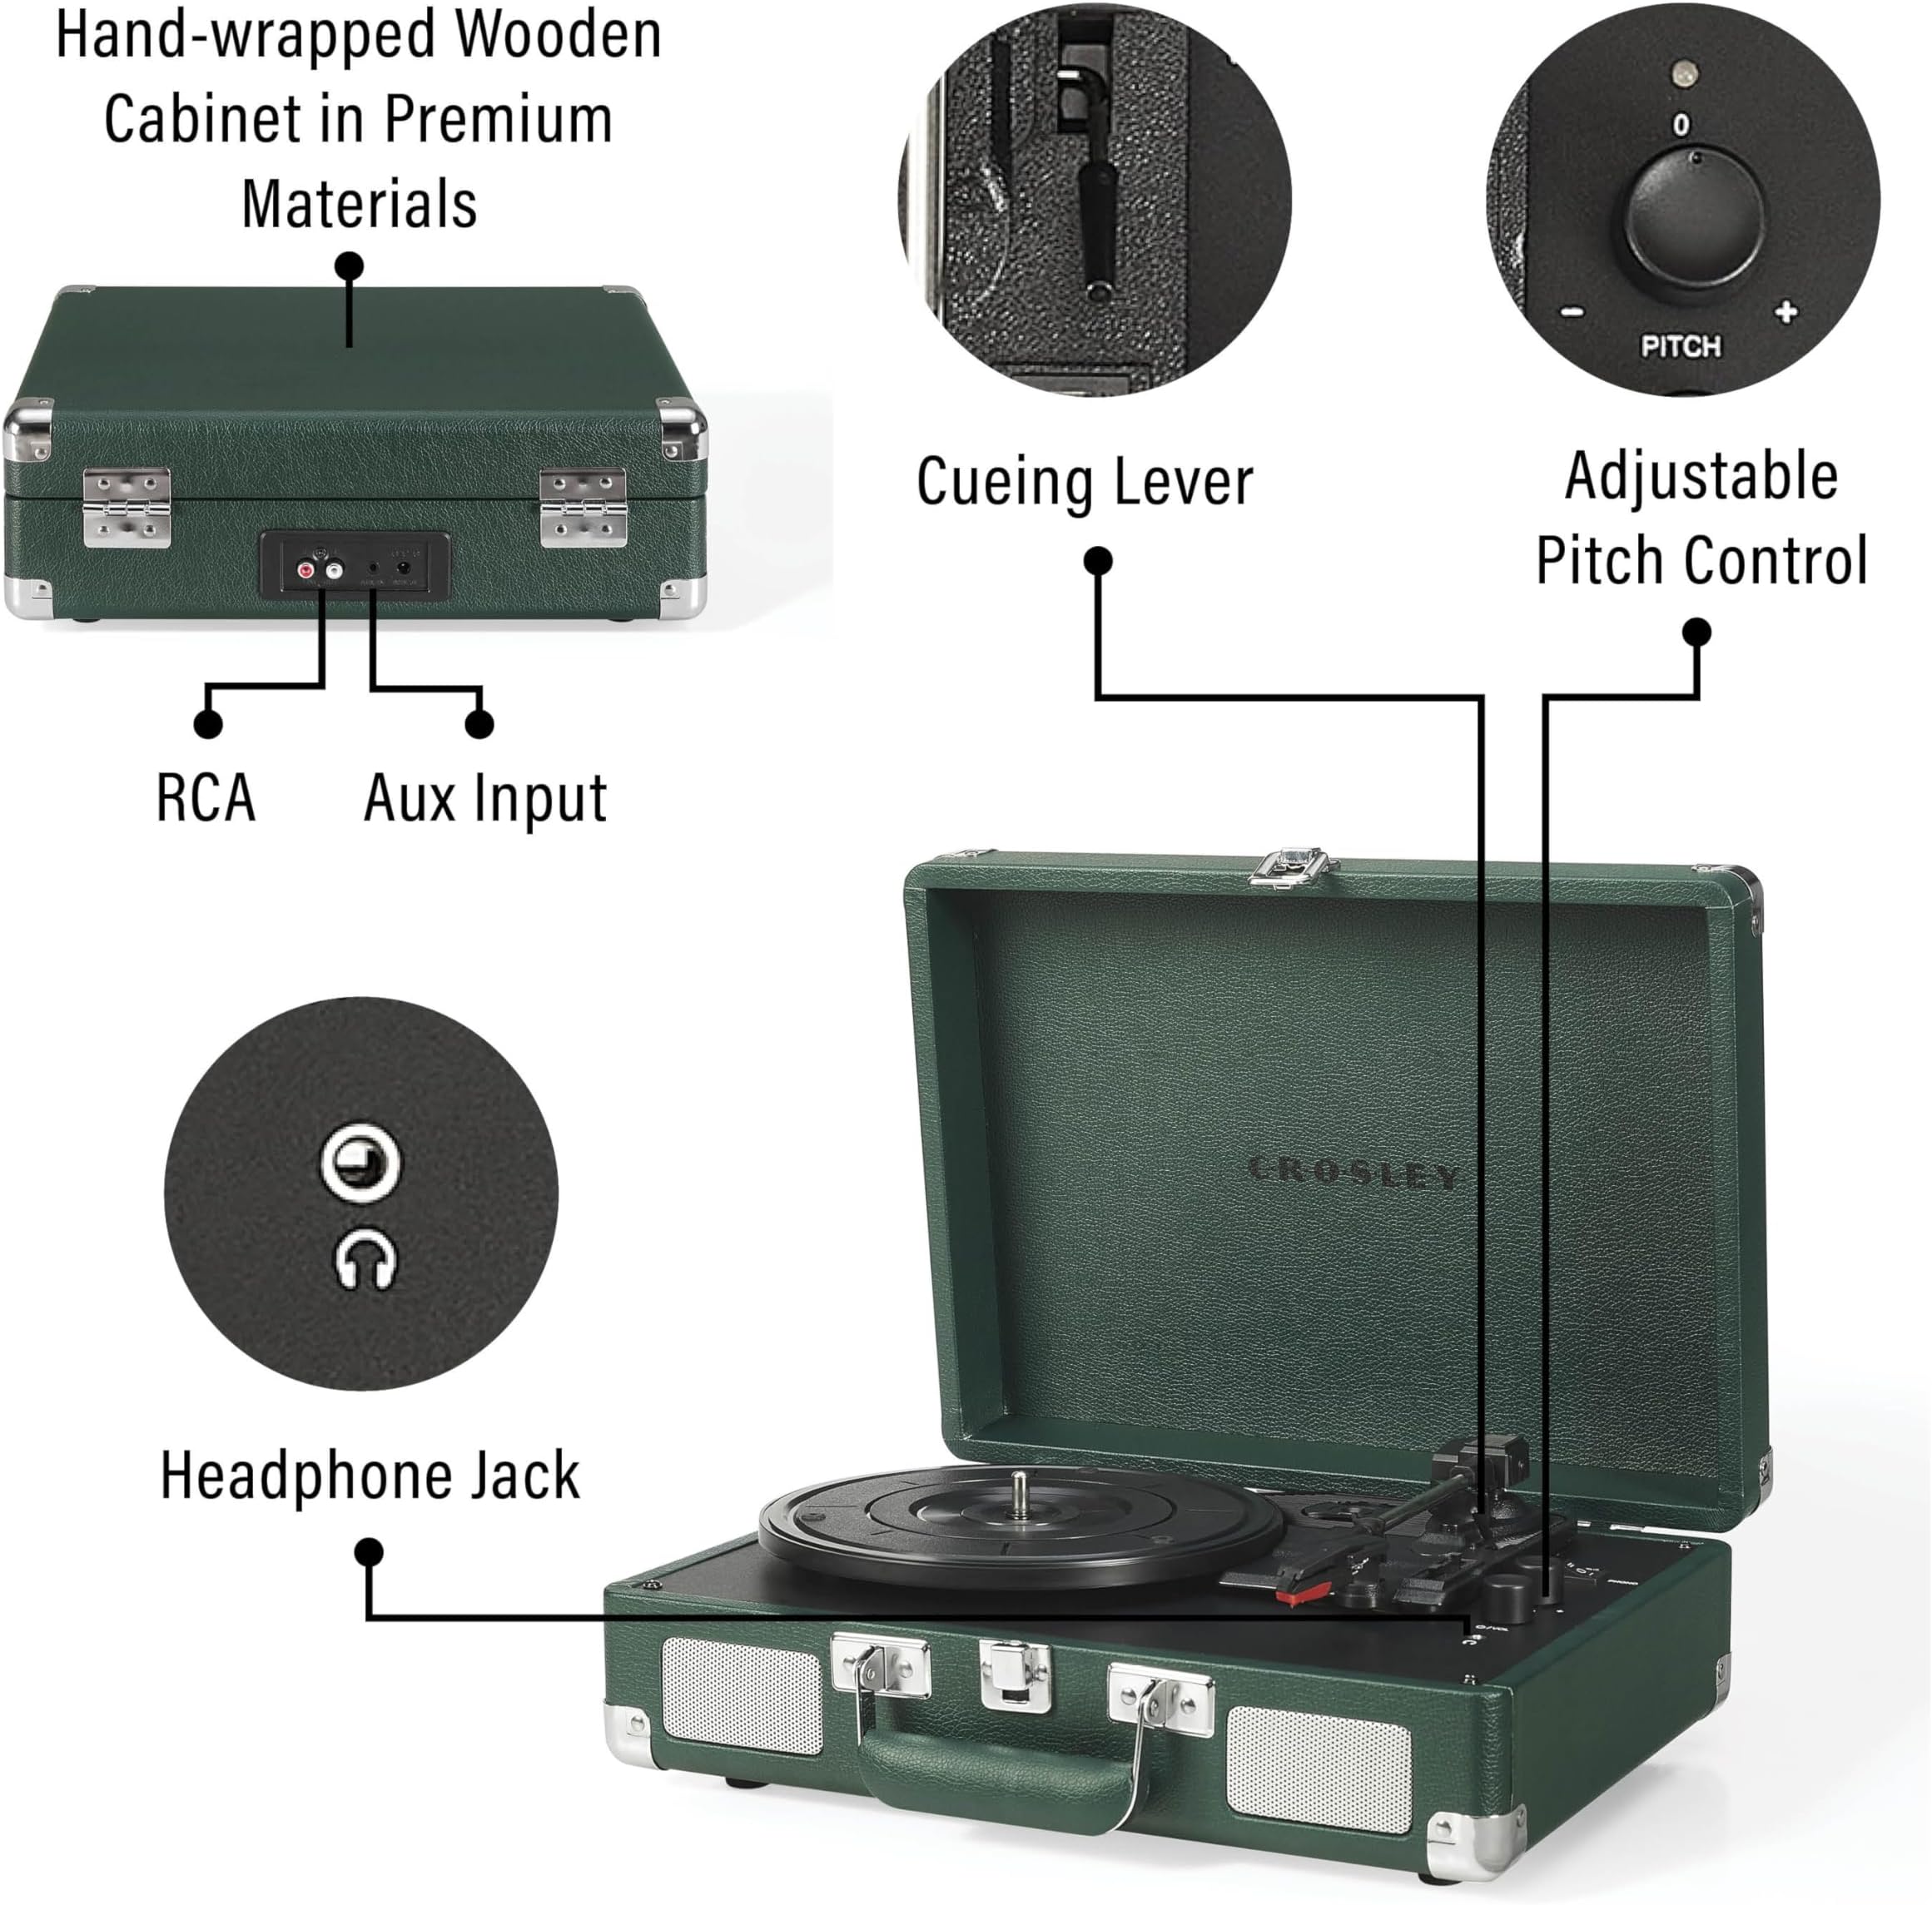
Have you ever wondered why your beloved vintage automatic turntable is no longer delivering the crisp sound quality it once did? Perhaps you’ve noticed a decline in performance, with skips and jumps disrupting your favorite vinyl tracks. Many enthusiasts of vintage audio equipment face this common issue, often without realizing that the culprit could be something as simple as a worn-out belt. In fact, regular maintenance—including timely belt replacement—is crucial for preserving the integrity of any automatic turntable.
This blog post delves into the essential steps and considerations involved in replacing belts on these classic devices. The core value lies not just in restoring functionality but also enhancing overall listening experience while prolonging the life of a cherished piece of audio history. For those passionate about high-fidelity sound reproduction, understanding how to maintain their vintage turntable can transform an average listening session into an extraordinary one.
The process may seem daunting at first glance; however, with some basic tools and DIY solutions at hand, even novice users can navigate through it successfully. This guide aims to empower readers by providing practical maintenance tips that demystify audio repair tasks associated with their vintage automatic turntables. From selecting the right replacement belt to ensuring proper installation techniques, each step will bring them closer to achieving optimal performance once again.
As we journey through this informative piece, expect nuanced insights on choosing compatible components tailored specifically for various models of automatic turntables. By following best practices outlined here, audiophiles can keep their gear running smoothly while enjoying rich retro sounds that only vinyl can deliver.
So if you’re ready to breathe new life into your treasured vintage automatic turntable, stay tuned! The world of enhanced sound quality awaits those willing to invest a bit of time and effort into understanding how effective belt replacement works—an essential aspect often overlooked by many users but vital for maintaining these timeless machines’ allure.

Key Points:
-
The Importance of Timely Belt Replacement: Understanding that a worn belt can severely impact the functionality and sound quality of a vintage automatic turntable is crucial for enthusiasts. A deteriorated belt can cause inconsistent playback speeds, frustrating vinyl lovers who cherish their listening experience.
-
Identifying Signs of Wear: Audiophiles should be vigilant in recognizing signs indicating it’s time for a belt replacement. Symptoms such as unusual sounds during operation or fluctuating speeds are clear indicators that maintenance is required to preserve the integrity of the vintage turntable.
-
DIY Solutions for Maintenance: Many owners may think professional repairs are their only option; however, this guide emphasizes feasible DIY solutions. With proper materials available on today’s market tailored specifically for various models of automatic turntables, anyone can successfully undertake this essential audio repair task to enhance performance and sound quality.

Understanding the Drive Belt of a Vintage Automatic Turntable
The Heart of Audio Performance
The drive belt in a vintage automatic turntable serves as a crucial component that links the motor to the platter, ultimately influencing sound quality. This flexible band is responsible for transferring rotational motion from the motor, which drives the platter’s spinning. In many vintage models, this connection is vital for achieving optimal playback speeds and maintaining audio fidelity. When one considers how critical precision is in vinyl playback, it becomes evident that even minor discrepancies in belt performance can lead to significant variations in sound quality. Over time, age and wear can cause these belts to stretch or become brittle, necessitating timely belt replacement to preserve audio integrity.
In addition to its mechanical function, the condition of the drive belt can also affect overall performance characteristics like pitch stability and noise levels during playback. A well-maintained vintage turntable, equipped with a new or properly tensioned drive belt, will exhibit cleaner sound reproduction compared to one with an old or worn-out belt. Audiophiles often emphasize that every aspect of their setup contributes to their listening experience; hence understanding maintenance tips for components like belts should not be overlooked by anyone interested in high-fidelity sound.
For those who enjoy hands-on projects or are looking into DIY solutions for their audio equipment, replacing a worn drive belt on an automatic turntable can be both rewarding and educational. Not only does this process enhance one’s appreciation for vintage technology but it also provides insight into common issues encountered during routine audio repair tasks associated with these classic devices. As part of regular maintenance practices recommended by enthusiasts and experts alike, checking the condition of your turntable’s drive belt ensures longevity while optimizing sound performance.
It’s important to note that when selecting a replacement belt for your automatic turntable, compatibility is key—different models may require specific lengths or widths depending on design specifications. Therefore, investing some time researching compatible options will yield better results than generic substitutes which might compromise functionality over time.
In conclusion, understanding how integral the drive belt is within any vintage automatic turntable cannot be overstated; it connects essential elements while playing an active role in preserving superior sound quality through effective power transmission from motor to platter. Thus regular maintenance checks—including examining belts—are not just advisable but necessary steps toward ensuring enjoyable auditory experiences derived from cherished vinyl records.
Identifying Signs for Belt Replacement
Understanding When Your Turntable Needs Attention
When it comes to maintaining the performance of a vintage automatic turntable, one critical component that often requires attention is the belt. The belt plays an essential role in ensuring that the turntable operates smoothly, and over time, wear and tear can lead to degradation in sound quality. One of the first signs that indicates a need for belt replacement is any noticeable change in speed fluctuations during playback. If listeners find their records playing too fast or too slow, this could be attributed to a worn-out belt failing to maintain consistent tension.
Another significant indicator is visible physical damage on the belt itself. A thorough inspection may reveal cracks, fraying edges, or even stretching beyond its intended capacity; all these symptoms are clear signals that it’s time for action. Additionally, if there are strange sounds emanating from the turntable while it’s playing—such as squeaking or grinding noises—it may indicate increased friction caused by a compromised belt. Addressing these issues promptly not only enhances sound clarity but also contributes to prolonging the life of components within your vintage automatic turntable.
Moreover, users should consider how long they have owned their current belt and when it was last replaced as part of routine maintenance tips for audio repair enthusiasts. Generally speaking, belts can last anywhere from several years up to a decade depending on usage frequency and environmental conditions—but age alone shouldn’t be overlooked as an influencing factor when assessing performance levels.
For those interested in DIY solutions regarding maintenance challenges with their automatic turntables, knowing when to replace the drive belt becomes paramount not just for preserving audio fidelity but also safeguarding against potential damage stemming from neglected upkeep practices. Regularly monitoring these indicators will ensure optimal listening experiences while enjoying classic vinyl records—an integral aspect within vintage audio culture.
In conclusion, being aware of key signs such as speed inconsistencies, visible damage on belts themselves or unusual operational sounds can significantly enhance one’s experience with their beloved vintage automatic turntable. Taking proactive steps towards maintenance through timely replacements fosters both satisfaction and longevity—a true testament to those who appreciate high-quality sound reproduction rooted deeply within musical history.
Understanding the Importance of Belt Replacement
Essential Steps to Enhance Your Vintage Automatic Turntable’s Performance
Replacing the belt on a vintage automatic turntable is a crucial maintenance task that directly impacts audio performance. Over time, belts wear out, leading to issues such as speed inconsistency and diminished sound quality. A well-maintained turntable not only preserves the integrity of vinyl records but also ensures an optimal listening experience. To begin this DIY process, one must first select the appropriate replacement belt compatible with their specific model. Researching online forums or manufacturer specifications can provide valuable insights into which belts best suit various vintage models. Once you’ve gathered your materials—often including tools like screwdrivers and pliers—prepare for installation by ensuring your workspace is clean and organized. It is advisable to have a soft cloth nearby to protect delicate components from scratches during disassembly.
Installation Techniques for Optimal Audio Repair
Step-by-Step Guide to Replace Your Turntable’s Belt
The installation phase of replacing a worn-out belt on a vintage automatic turntable requires careful attention to detail and technique. Begin by disconnecting your turntable from any power source; safety should always be paramount in audio repair tasks. Next, remove any necessary covers or panels using appropriate tools without rushing through this step, as it protects sensitive parts inside the unit. Carefully note how the old belt was positioned around pulleys because replicating this arrangement will ensure proper functionality once replaced with the new belt. After removing the old belt—likely stretched or cracked—you can proceed by installing its successor in exactly the same configuration observed earlier. Ensure it fits snugly over all pulleys while maintaining tension; too loose may cause slippage while being overly tight could lead to premature wear on both motor components and records alike.
Maintenance Tips for Longevity
Keeping Your Vintage Turntable Sounding Great
After successfully completing the belt replacement, ongoing maintenance becomes essential for preserving sound quality in your vintage automatic turntable system over time. Regular cleaning prevents dust accumulation that can impact playback fidelity; utilizing specialized brushes designed specifically for vinyl care will help maintain not just cleanliness but also enhance sonic performance considerably when combined with routine inspections of other critical parts like cartridges and styluses as well as tonearms if applicable within each device type’s structure! Furthermore, consider checking alignment settings at least once every few months since misalignments are common culprits behind distortion-related issues often encountered during playback sessions—a simple adjustment might make all difference towards achieving that sought-after warm analog sound many collectors cherish about these units! Lastly but importantly: store records vertically away from direct sunlight exposure alongside implementing humidity control measures where feasible—these practices contribute significantly towards protecting both media investments & cherished memories tied closely together throughout every spin enjoyed through those beloved grooves!
Frequently Asked Questions:
Q: How can I tell if my vintage automatic turntable needs a belt replacement?
A: There are several signs that may indicate it’s time for a belt replacement on your vintage automatic turntable. If you notice inconsistent playback speed, unusual noises during operation, or the platter not spinning at all, these could be symptoms of a worn-out drive belt. Additionally, inspecting the belt visually for cracks, brittleness, or stretching can provide clear evidence that it requires immediate attention.
Q: What materials should I consider when replacing the belt on my vintage turntable?
A: When selecting a new belt for your vintage automatic turntable, it’s important to choose high-quality materials designed specifically for audio equipment. Rubber and silicone belts are popular choices due to their durability and ability to maintain tension over time. Be sure to consult your turntable’s manual or manufacturer specifications to find the appropriate size and type of belt suitable for your model.
Q: Can I replace the drive belt on my vintage automatic turntable myself?
A: Yes! Many audiophiles find that replacing the drive belt is a manageable DIY task. With some basic tools and careful attention to detail, individuals can successfully perform this maintenance without incurring professional repair costs. Detailed instructions specific to various models of automatic turntables are often available online or in user manuals, making it accessible even for those new to audio repair techniques.


