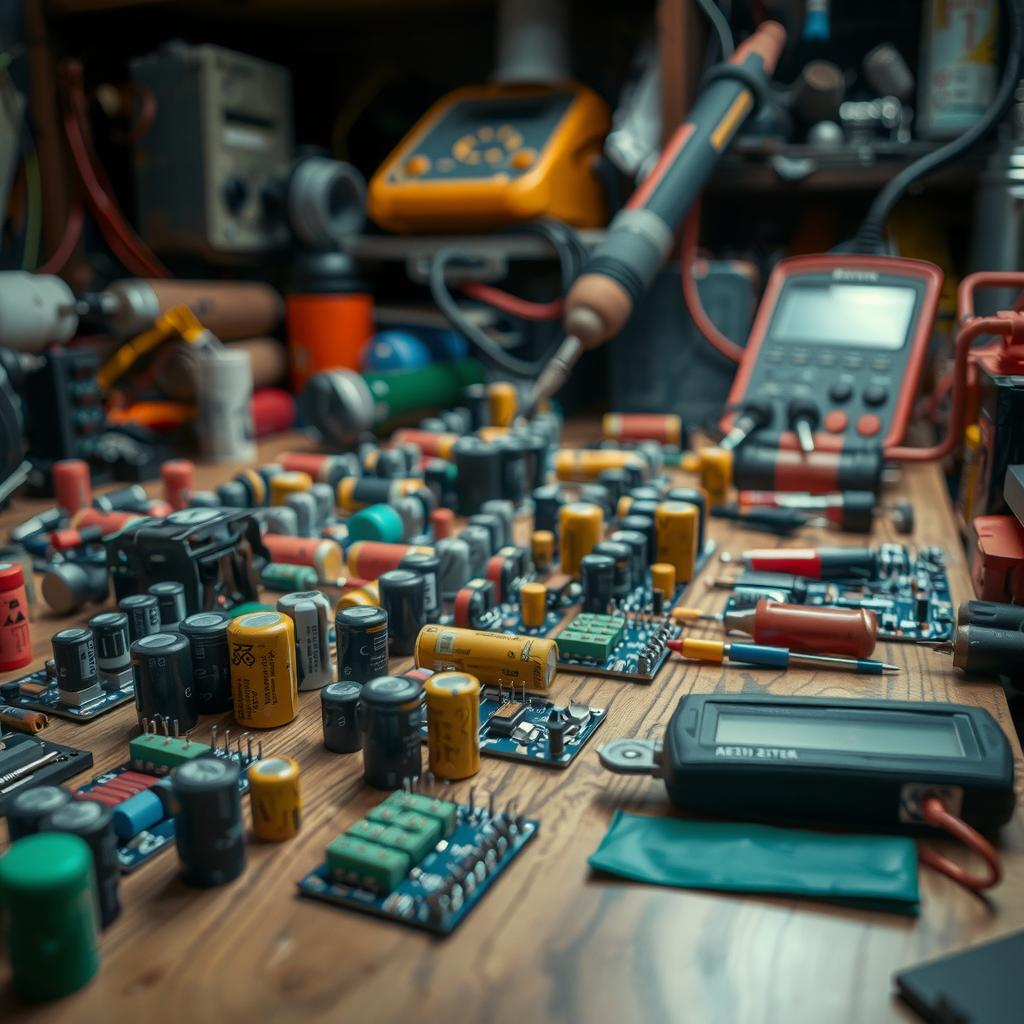
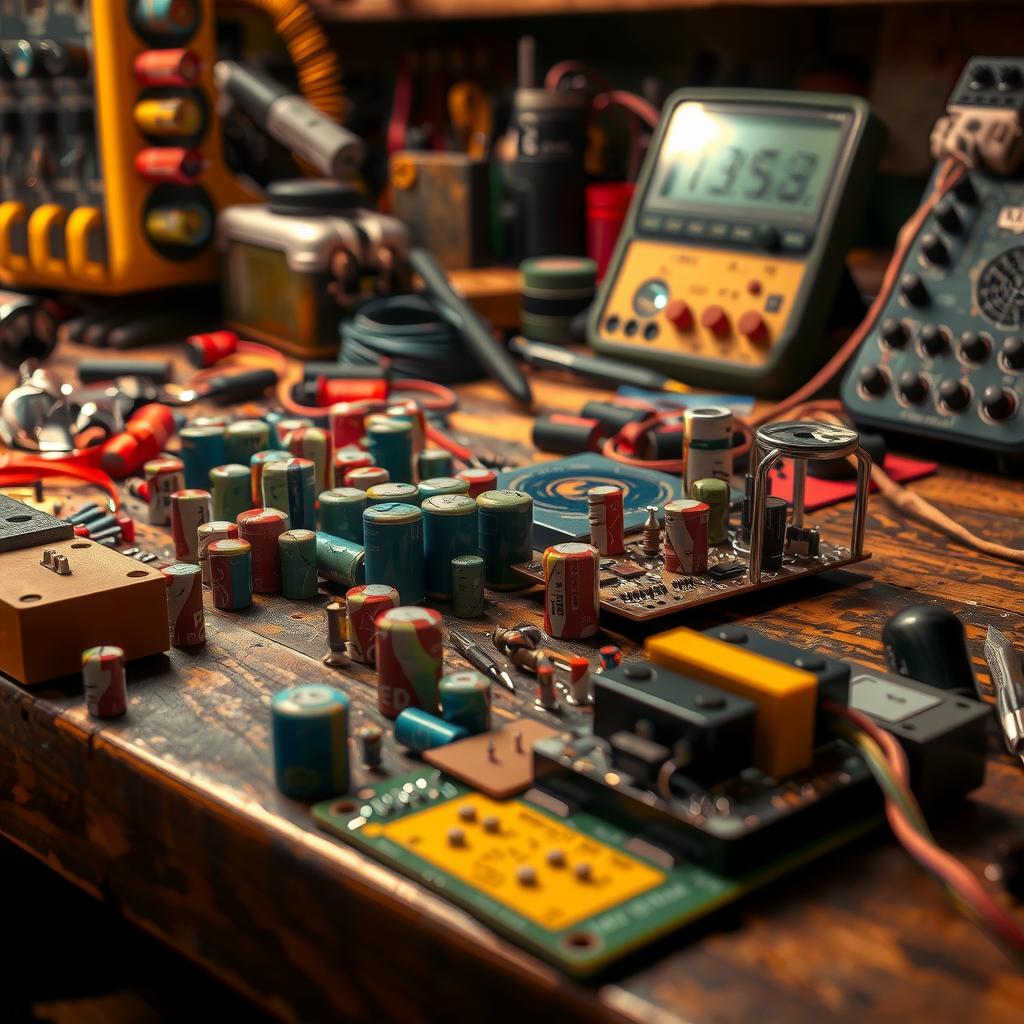
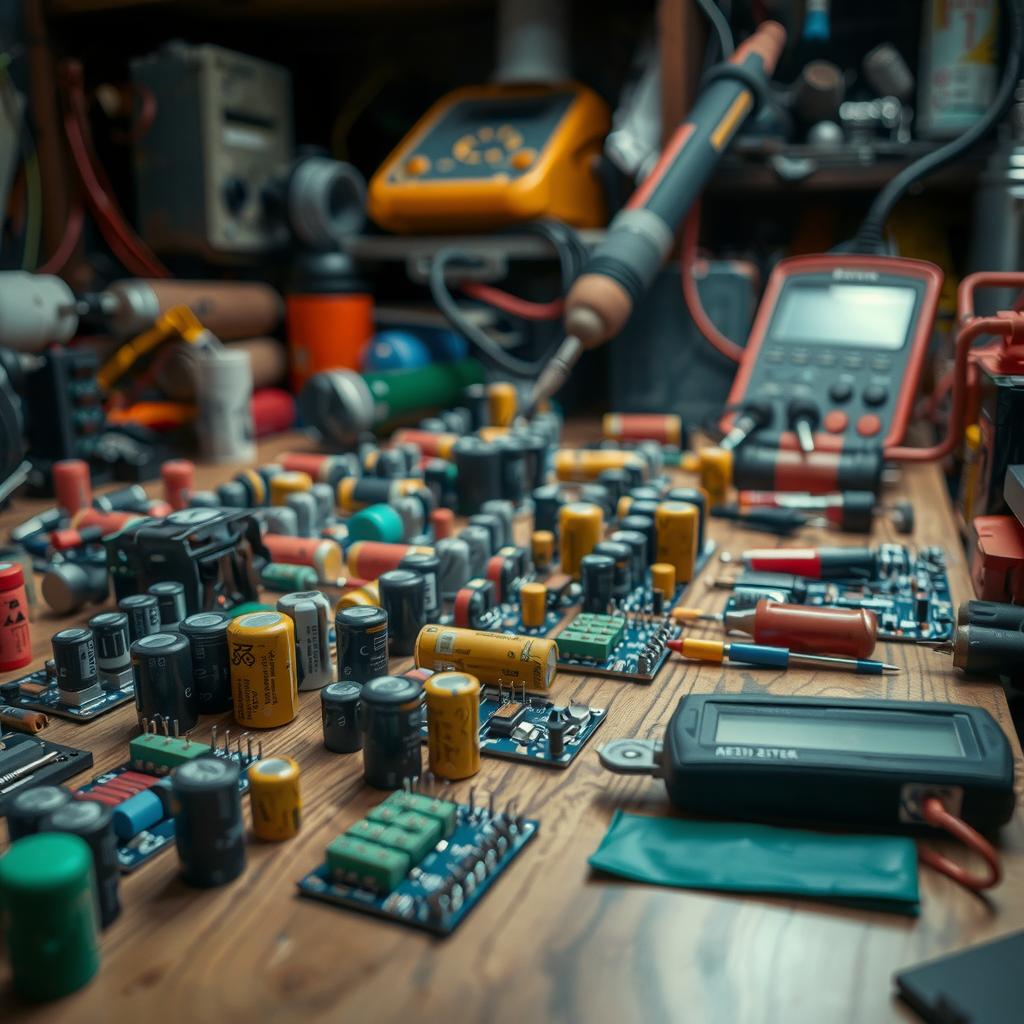
In the world of vintage electronics, enthusiasts often face a common yet daunting challenge: dealing with aging capacitors. These essential electronic components, while integral to the functionality of many classic devices, are notorious for their tendency to deteriorate over time. As they age, these capacitors can fail, leading to diminished performance or complete malfunction of cherished vintage gear—from radios and amplifiers to old computers and televisions. For those who cherish the warm sound of analog equipment or the nostalgic feel of retro technology, understanding how to approach capacitor replacement is crucial. This blog post serves as a comprehensive capacitance replacement guide, offering valuable repair tips and restoration techniques tailored specifically for vintage electronics.
The significance of proper maintenance cannot be overstated in this realm; addressing issues related to aging capacitors not only restores functionality but also preserves history and character embedded within these devices. Without adequate knowledge on how to troubleshoot capacitor failures effectively, hobbyists risk damaging their prized possessions further or becoming overwhelmed by complex circuitry that seems impenetrable at first glance. However, fear not—this guide is designed precisely for readers looking for clarity and guidance in navigating the intricate world of electronic repairs.
Throughout this article, readers will discover practical strategies that demystify the process behind capacitor replacement in vintage electronics. From identifying faulty components through troubleshooting guides to selecting appropriate replacements that maintain authenticity without sacrificing quality—the goal is simple: empower enthusiasts with actionable insights that lead them toward successful restorations. With each section dedicated to unraveling aspects such as safety precautions during repairs and sourcing quality parts aligned with original specifications, there lies a roadmap waiting for discovery.
So whether one’s passion lies in reviving an old tube amplifier or breathing new life into a beloved record player, understanding how best to approach capacitor replacement becomes an invaluable skill set within any enthusiast’s repertoire. Join us as we delve deeper into effective methods tailored exclusively for preserving the integrity and charm found in vintage technology—for there’s nothing quite like hearing your favorite tunes play through restored audio equipment from yesteryear!

Key Points: Crucial Insights for Capacitor Replacement in Vintage Electronics
Understanding Aging Capacitors:
In the realm of vintage electronics, aging capacitors often signal impending issues that can severely affect performance. As these electronic components deteriorate, they may display visible signs such as leakage or bulging. Recognizing these symptoms is a vital first step in any capacitor replacement endeavor. By understanding the common challenges posed by worn-out capacitors, enthusiasts can better appreciate their significance within the intricate craftsmanship of classic devices.
Sourcing Appropriate Replacement Parts:
A comprehensive capacitor replacement guide emphasizes the importance of sourcing high-quality replacement parts specifically designed for vintage electronics. Whether working on retro gaming consoles or vintage audio equipment, finding suitable capacitors that match original specifications is crucial to maintaining optimal functionality and preserving historical integrity. Readers will benefit from practical tips on where to locate reliable suppliers and how to evaluate component quality effectively, ensuring that repairs are both safe and efficient.
Executing Successful Replacements:
Executing successful capacitor replacements requires a methodical approach rooted in effective restoration techniques outlined within this troubleshooting guide. From safely disassembling devices to properly soldering new components into place, each step demands careful attention to detail. Readers will discover essential repair tips that not only enhance their technical skills but also empower them to tackle even the most daunting projects confidently—breathing new life into cherished pieces of vintage technology while ensuring long-lasting enjoyment with restored performance.

Understanding the Aging Process of Vintage Capacitors
The Silent Deterioration of Essential Components
In the realm of vintage electronics, aging capacitors pose significant challenges that often go unnoticed until they lead to substantial performance issues. These components, essential for maintaining electrical stability and filtering signals, can degrade over time due to factors such as temperature fluctuations, humidity, and inherent material fatigue. As capacitors age, their capacitance values tend to drift from their original specifications. This deterioration can result in insufficient charge storage capability or fluctuating voltage levels which disrupts the overall functionality of devices like tube amplifiers or old radios. Consequently, users may experience audio distortion or intermittent operation—common symptoms indicating that it might be time for a capacitor replacement.
Identifying Common Symptoms of Aging Capacitors
Recognizing Trouble Before It Strikes
When dealing with vintage electronics, awareness is key; understanding how to identify common issues caused by aging capacitors can save enthusiasts both time and resources in repair efforts. Typical signs include visual inspections revealing bulging tops or leaking electrolyte—a definite red flag signaling imminent failure. Furthermore, unusual sounds emanating from electronic devices should not be overlooked; crackling or popping noises could indicate compromised capacitor integrity affecting signal pathways within circuits. For those engaged in restoration techniques involving classic gear like synthesizers or turntables, a troubleshooting guide focused on these symptoms will prove invaluable when diagnosing problems linked directly to aged components.
Repair Tips: Techniques for Effective Restoration
Reviving Vintage Electronics Through Careful Maintenance
Repairing vintage electronics equipped with aging capacitors requires not only technical knowledge but also careful application of restoration techniques tailored specifically for older designs. One effective approach involves replacing failing electrolytic capacitors with modern equivalents while paying attention to voltage ratings and physical dimensions—ensuring compatibility without compromising device aesthetics. Moreover, utilizing film caps where appropriate can enhance reliability given their longevity compared to traditional electrolytics used decades ago. Additionally, employing soldering skills during this process is paramount; proper desoldering methods must be applied meticulously so as not to damage surrounding electronic components during removal operations.
In conclusion, fostering an understanding around the role and impact of aging components in vintage electronics equips enthusiasts with essential knowledge necessary for promoting longevity and performance accuracy within cherished devices throughout generations.
Identifying Problematic Capacitors
Recognizing Signs of Wear and Tear in Vintage Electronics
When delving into the world of vintage electronics, a key aspect to consider is the condition of its electronic components, particularly capacitors. Aging capacitors can exhibit several telltale signs that indicate potential failure, which necessitates timely intervention to preserve these cherished devices. One noticeable sign is leakage, where electrolyte fluid seeps out from the capacitor casing; this not only compromises functionality but can also damage surrounding components. Additionally, bulging or swelling at the top or sides of a capacitor should raise immediate concern for any technician or hobbyist involved in restoration techniques. Such deformities suggest internal pressure buildup due to chemical reactions inside the component that could lead to catastrophic failure if left unaddressed.
Incorporating a thorough troubleshooting guide into maintenance routines will help enthusiasts identify these issues early on. For instance, when servicing an old amplifier or radio receiver commonly found among vintage electronics collections, it’s essential for owners to perform regular inspections for any signs of wear and tear on capacitors. This proactive approach ensures that necessary capacitor replacements are conducted before further deterioration occurs.
Understanding how aging affects different types of capacitors is crucial as well; electrolytic capacitors are particularly susceptible to leakage and bulging due to their construction and operating conditions within various circuits in vintage gear. Thus, recognizing these symptoms enables individuals engaged in repair tips and restoration projects to prioritize interventions effectively.
Furthermore, keeping track of voltage ratings and capacitance values during assessment can aid technicians significantly while handling repairs on classic audio equipment such as turntables or tube amplifiers—where reliability is paramount for optimal performance. Using comprehensive guides tailored towards specific models allows hobbyists not only to gain insight into typical failures associated with those units but also equips them with practical knowledge about sourcing quality replacement parts when needed.
In summary, vigilance is key when working with vintage electronics; spotting leakage and bulging are fundamental skills every restorer must possess if they wish to ensure longevity for their prized possessions while navigating the intricate world of electronic components safely. By applying diligent observation alongside effective repair strategies based on informed understandings about aging capacitors will undoubtedly yield fruitful results in preserving legacy technology for future enjoyment.
Effective Sourcing of Replacement Parts for Vintage Electronics
A Comprehensive Approach to Finding Quality Components
When embarking on the journey of restoring vintage electronics, one of the most critical aspects is sourcing suitable replacement parts. The age and rarity of these devices often make it challenging to find components that match their original specifications. Enthusiasts and repair professionals alike must navigate an intricate web of suppliers, online marketplaces, and specialty shops dedicated to vintage electronics. Aging capacitors, for instance, are a common issue in many older devices; therefore, understanding where to locate high-quality replacements is essential. Websites like eBay or specific electronic component retailers may house valuable stock for those on a quest for rare parts like transistors or circuit boards from bygone eras.
In addition to general online searches, joining forums and communities focused on vintage electronics can provide invaluable insights into reliable sources. Members often share tips about reputable vendors who specialize in hard-to-find components or even recommend alternatives when original parts are no longer available. This collaborative approach not only saves time but also enhances knowledge regarding various repair techniques that have worked well in past restoration projects.
Another effective strategy involves visiting local electronic surplus stores or estate sales where old equipment might be sold off at reasonable prices. Here lies an opportunity not only to acquire necessary components but also potentially salvage usable parts from non-functioning units—a practice that embodies both creativity and sustainability within the realm of electronics restoration.
Mastering Repair Techniques: Bringing Vintage Electronics Back to Life
Essential Skills Every Restorer Should Acquire
To successfully breathe life back into vintage electronics, mastering specific repair techniques becomes paramount. Knowledge about how different components function together—such as resistors, diodes, and especially capacitors—is fundamental in understanding how best to approach repairs effectively. A thorough troubleshooting guide can assist enthusiasts by outlining common issues associated with aging devices along with proven solutions tailored specifically for each type.
One must become familiar with soldering skills: whether replacing faulty capacitors or reworking connections within circuit boards; proficient soldering ensures durability after repairs are executed. Learning how heat affects sensitive components during soldering operations is crucial since overheating can lead to further damage rather than remedy the problem at hand.
Additionally, employing proper diagnostic tools such as multimeters will enhance one’s ability not just to identify faults but also validate successful repairs after completing work on any device—a critical step in ensuring functionality before presenting restored items back into service or resale markets.
Moreover, embracing modern advancements while respecting traditional methods significantly enriches the restoration process itself; this includes leveraging digital schematics alongside hands-on experience gained through trial-and-error over countless hours spent tinkering with beloved retro gadgets—from radios dating back decades ago right up until classic gaming consoles cherished by nostalgic players today!
Preservation vs Modification: Balancing Authenticity with Functionality
Navigating Choices During Restoration Projects
The debate surrounding preservation versus modification remains prevalent among aficionados restoring vintage electronics. On one hand lies a commitment toward maintaining authenticity—ensuring every part reflects its era without alterations disrupting historical value; conversely presents opportunities wherein updating particular elements could enhance performance substantially while still honoring core designs intrinsic throughout production periods spanning decades long gone!
Determining which route suits individual projects necessitates careful consideration based upon intended use cases following completion—will these pieces serve merely decorative purposes? Or shall they endure functional applications requiring more reliability than originally engineered? Striking this balance demands keen judgment informed by both personal preferences alongside established standards adhered universally across similar restorations seen globally amongst passionate collectors willing towards nurturing legacies previously lost amidst modernization’s relentless advance forward!
Ultimately achieving harmony between authenticity & enhanced usability provides satisfaction derived from preserving history whilst adapting relics found buried beneath layers dust accumulated over years waiting patiently revival efforts undertaken once again rekindled passion shared generations before us all!
Essential Guide to Replacing Capacitors in Vintage Electronics for Optimal Performance
In the realm of vintage electronics, aging capacitors frequently become a significant barrier to preserving the functionality of cherished devices. As these capacitors degrade, they may display distressing signs such as leakage or bulging, which can severely affect performance and reliability. Understanding these issues is essential for enthusiasts who wish to restore their beloved gadgets. This guide offers invaluable insights into identifying problematic capacitors and executing successful replacements, ensuring that vintage electronics can continue to deliver optimal performance.
One critical aspect of capacitor replacement involves sourcing appropriate parts. Many enthusiasts may find it challenging to locate suitable replacements for older electronic components due to limited availability or specific voltage ratings required by vintage models. However, various online platforms offer extensive catalogs dedicated specifically to vintage electronics repair needs. By leveraging these resources, individuals can ensure they obtain high-quality capacitors that meet the specifications necessary for effective restoration techniques.
Safety is paramount when tackling capacitor replacement in vintage electronics. Before starting any repair project, it’s crucial for users to familiarize themselves with proper handling practices—especially considering that some aged components may hold residual charge even when powered off. The troubleshooting guide within this article emphasizes methods such as discharging capacitors safely before removal and employing anti-static tools during repairs. These precautionary measures significantly reduce risks while enhancing confidence throughout the restoration process.
Lastly, once new capacitors are installed successfully in vintage electronics equipment, users should conduct thorough testing before putting devices back into regular use. Monitoring how well the newly replaced components perform will provide valuable feedback on whether additional adjustments might be needed down the line—a vital step in ensuring longevity and reliability post-repair.
FAQ:
Q: How do I know if my capacitor needs replacing?
A: Signs of aging such as leakage or bulging often indicate that a capacitor should be replaced in your vintage electronics.
Q: Where can I find suitable replacement parts for my vintage electronic devices?
A: Numerous online retailers specialize in offering high-quality components tailored specifically for restoring vintage electronics.
Q: What safety precautions should I take when replacing capacitors?
A: It’s important to discharge any remaining charge from aged capacitors and utilize anti-static tools during repairs on your vintage electronics equipment.


